
I recently pulled this recipe out of my archives of the second gluten-free bakery I used to work at (that has unfortunately since closed) because I wanted some kind of bread to go with my first soup of the season. I helped formulate many of the recipes at that bakery and while I’ve been meaning on going back to them and refining them with what I know now, I find that many of them still hold up pretty well.
The original recipe was for pull-a-part style rolls, but when I sat down to make these again I thought, Huh, I bet they’d hold their shape better if I put them in a muffin tin. Why didn’t I ever think of that before?
They came out a little smaller and spongier than I had hoped, but directly after declaring, “they’re okay, but I could make them better,” I found myself going back for another one. My second batch turned out even tastier.
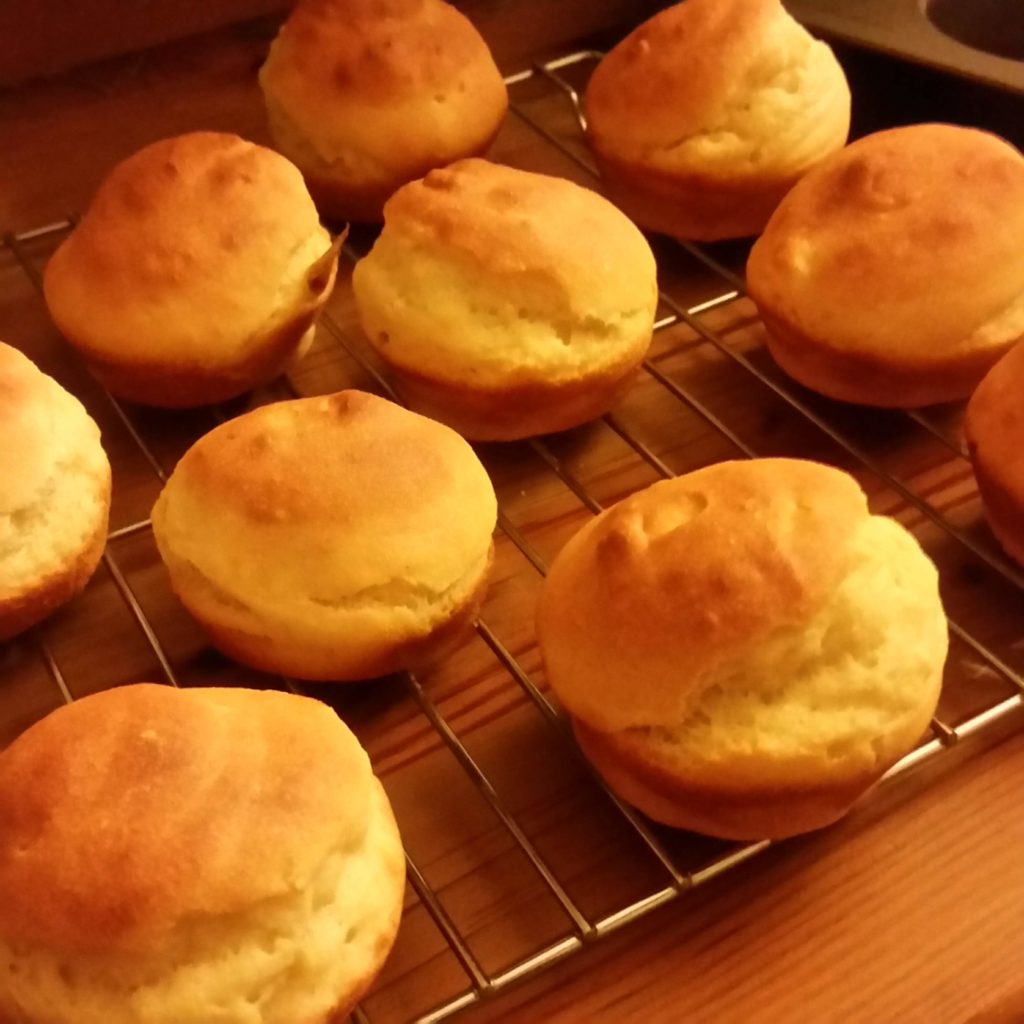
These rolls are so moist that you don’t have to toast them before eating, which is a rarity in the gluten-free world. They are fluffy, yeasty, golden brown, and look just like store-bought dinner rolls. I will never get tired of eating the sliced in half with a thick smear of room temperature butter in the middle. They are ever so slightly on the sweet side so you could probably decrease the sugar or replace the applesauce with another egg if you wanted to cut back on the sugar.

Gluten-Free Dinner Rolls
Ingredients
- 3/4 cup white rice flour
- 1/2 cup brown rice flour
- 1/4 cup tapioca starch
- 1/4 cup potato starch
- 2 ½ tbsp sugar
- ½ tbsp cornstarch
- ½ tbsp baking powder
- ½ tbsp yeast
- 1 ¼ tsp xanthan gum
- 1 tsp salt
- 2 eggs
- ½ cup milk
- 2 tbsp canola oil
- 1/4 cup applesauce
- ½ cup hot water
Important Equipment
- A 12-count Muffin Tin
- A ziplock plastic bag optional
Instructions
-
Preheat the oven to warm, the lowest setting, or “proofing” if you have that option, and lightly grease a muffin tin.
-
Place dry ingredients in a medium sized bowl and mix briefly.
-
Place eggs and milk in a small container. Microwave for 1 minute or until mixture is warm to touch. If your microwave is very powerful, microwave in 20-second increments to avoid cooking the eggs.
-
Add milk, eggs, and the remaining wet ingredients to the dry. Mix for several minutes until smooth and batter looks a little thinner. The mixture will be halfway between a dough and a batter.
-
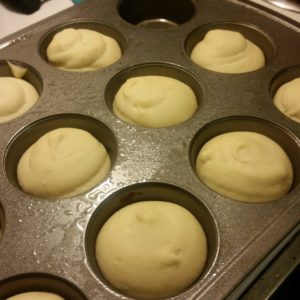
There are two methods for getting the dough into a roll shape in the muffin tin. The first is to simple approach as you would making muffins. Scoop approximately ⅓ cupfuls of the dough into the muffin tin. The muffin cups should be about ¾ of the way full. Even out the tops of the rolls by swirling your finger around the top in a circle, making a small peak in the center. The batter should make 10-12 rolls.
-
Here’s the second method: Take a ziplock plastic bag and fill it with the dough like a piping bag. You can use something tall and cylindrical to help support the bag while you fill it or use your other hand. Push all the dough towards the corner of the bag and snip off the end. The hole should be about ¾ of an inch wide. Place the tip of the bag in the center of each muffin cup and squeeze until each cup is about ¾ of the way full. This technique results in pretty round rolls that are much more even in size and shape. If you’ve never used a piping bag before, I recommend checking out this video on piping technique for dough. Note: The chef in the video is using a piping tip, which is used for detail work and not needed here, and she is having to work pretty hard to get the dough to the tip of the bag, which won’t be necessary in this recipe with this very soft dough.
-
Put rolls into the warm oven and let rise for 20 minutes.
-
Remove the rolls from the oven and increase the temperature to 325 degrees. When the oven is fully preheated, put the rolls back in and bake for 20-25 minutes or until golden brown on top and the center tests cleanly with a toothpick.


Note: You can also make these rolls pull-a-part style. Instead of using the muffin tin, lightly grease an 8-inch circular cake pan. With a container of water and a large ice cream scoop, scoop 8-10 rolls into the cake pan, dipping the scoop in the water between scoops to prevent the dough from sticking. The rolls will be packed tightly together and hold each other up as they rise and bake. Bake for 25-35 minutes at 325 degrees minutes until dark golden brown. Make sure to check the center with a toothpick, and if the tops are turning brown too early before the center tests cleanly, cover the pan with aluminum foil, shiny side up, and continue baking.
There you have it! Delicious, fluffy, moist dinner rolls made with very little fuss. These rolls should be eaten the day of or stored in an airtight container at room temperature. They will last 2-4 days and then may begin to lose their moisture and require toasting.

Published by